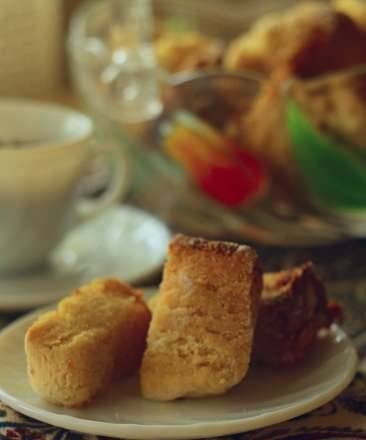
Gingerbread man made of wheat flour and multigrain grit.
Wheat bread with cereal grains and flakes. Master Class.Not everyone has the opportunity to purchase whole grain flour, but you want to eat a delicious bread with such flour.
I propose a way out and replace whole grain flour with another available option
We will use multi-grain crumbs.
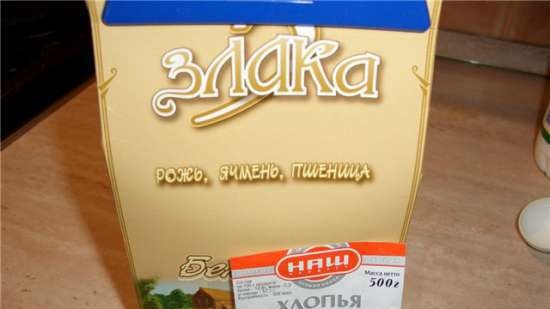
Here I have a grain of Belovodye, which includes barley, rye, wheat. You can also use other grains from other manufacturers, for example Large.
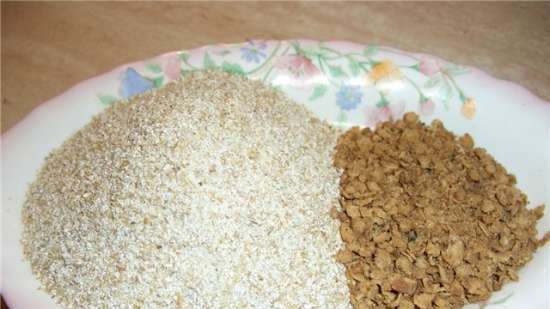
On the left in the photo is multi-grain grits, on the right are quick-boiled buckwheat flakes.
 Bread recipe:
Wheat flour - 300 grams
Multigrain groats - 100 grams
Buckwheat flakes - 30 grams
Total 430 grams
Kefir (curdled milk) 200 ml + water = 250 ml.
Vegetable oil - 2 tbsp. l
Total liquid 280 ml.
Sugar - 1 tbsp. l (replaced with semi-liquid honey 1 tbsp. l)
Salt - 1.5 tsp.
Yeast SAF-moment - 1, 5 tsp (can be replaced with other active or fresh ones)
You can read about the effect of different types of ingredients on the dough and its baking in the topic
"The main components of bread dough and their effect on the dough" link
https://mcooker-enm.tomathouse.com/index.php@option=com_smf&topic=38942.0
Cooking the dough.I prefer to put all liquid products in the bucket first, then flour and grains, then salt, sugar, yeast.
We put the bucket in x \ n and turn on the batch program with a duration of 1.40.
Attention: if you are going to bake bread completely in x \ n, immediately set the program Basic (basic) in time 3.20-3.50 - for someone like in time.Warning: in this recipe, the amount of ingredients is verified. But it is possible that you will need to add additional flour or water - this is normal.
I prefer to go according to the "flour in water" principle, if the bread recipe is baked by me for the first time - this principle allows me to knead the dough without mistakes.
Here is such a bun you will get in a bucket. At first, the dough turns out to be thin and you want to add more flour. But let's not forget that in the dough we have crumbs and flakes, which take a fairly large amount of liquid and by the end of kneading the bun will become normal, smooth, take on a normal shape.
In this recipe and with such components, it is better to do
Soft bun.In the photo we see a loose and gnarled bun.
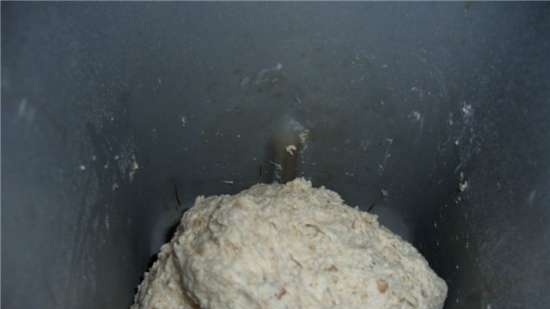
The process of kneading the dough and its first proofing is over. If you interrupted the automatic baking process and put the dough on the table, you would see such a dough after the first proving.
This is what the dough looks like inside, in your x \ n.
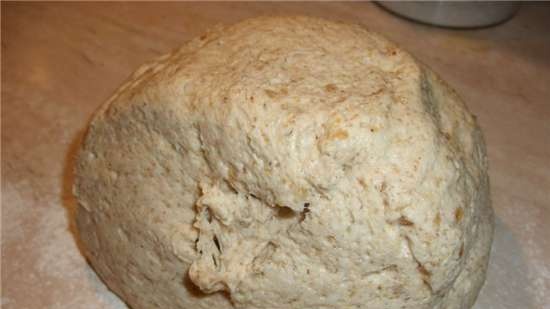
Now let's take a closer look at the dough.
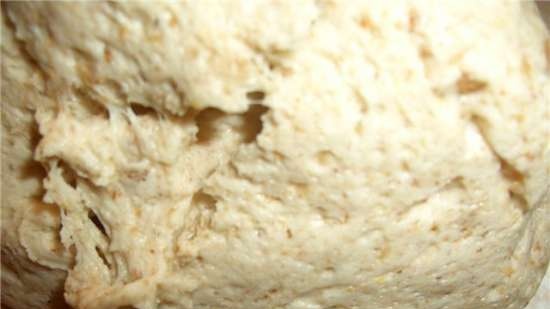
And then you continue the process of proofing the dough and baking bread in x \ n.
I continue to work with the dough on the table, I will melt in the oven for the second time, and I will also bake the product in the oven.
I knead the dough, roll it into such a layer.
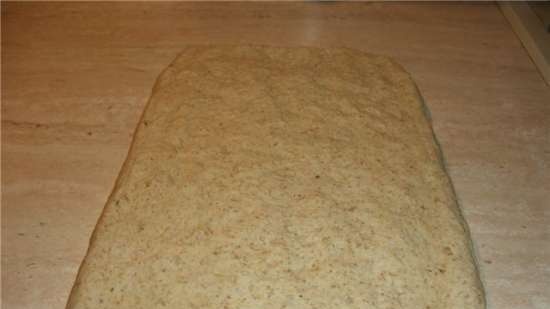
Then I roll up a tight roll, and thus form a loaf. I make cuts on the dough piece and send it to the oven for a second proofing at 30 * C, until the dough piece is doubled.
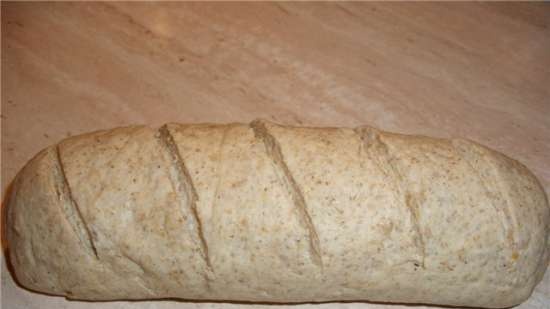
The dough piece after the second proofing. And do not ask me how long the dough should be for proofing.
I won't tell and I don't know! For me, the benchmark is the maturity of the dough, which occurs when the dough piece is increased by 2-2.5 times - and no more! Further, the dough can overripe, which will affect the shape of the loaf (crawl, settle) and the quality of the finished bread.
The second proofing is over.
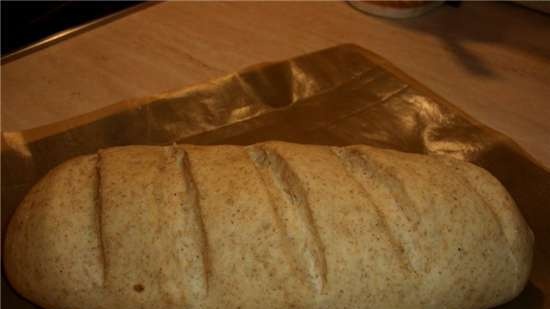
Now we put the dough piece back in the oven and set the temperature to 180 * C - bread is baked. Previously, the workpiece can be greased with any mixture for this and sprinkled with various dressings.
Since I do not have wheat bread, I did not grease it with a beaten egg (I prefer this grease).
And don't ask me how long the bread should be baked in the oven! I do not know!!!
For myself, I solved this problem by purchasing a temperature probe! Baking quality and readiness guarantee 100%.
After the crust is browned well enough, I stick a temperature probe into the bread and bring the bread to readiness, reduce the temperature in the oven to 165 * C.
Here is such a tanned handsome man. Our dough is gray, so the crust of the bread will be darker than with pure wheat bread.
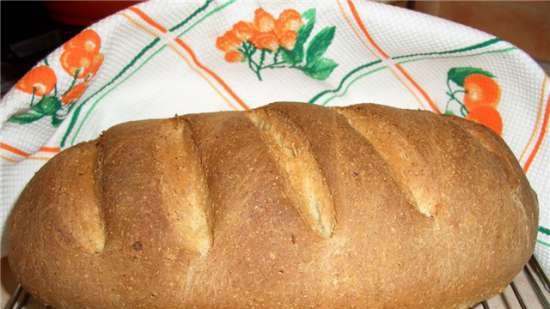
Let's see what happened inside the finished loaf.
But, pre-cool the bread until it cools completely, to room temperature inside the bread - about 25 * C.
I love to break gray loaves, which I do with great pleasure !!!!
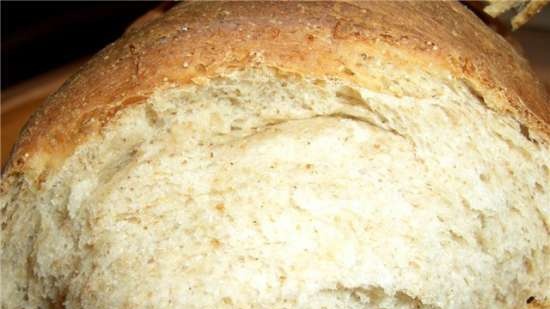
On the bite, the grains and flakes dissolved, but still the consistency of the bread is not like wheat bread, but looser and not so soft. The crust of the bread is thin and crispy, especially the bottom of the bread is crunchy. The color of the bread with grains is gray.
I love this bread !!!!
Bon appetit, everyone!
Wheat bread with the addition of multi-grain flakes and crumbs with cottage cheese. Master class for beginners.Let's look at the composition of cereals, how complex the composition of the flakes, which will require a large amount of liquid and a special bun to make the bread decent and soft.
Composition of cereals:Flakes "5 cereals" - oatmeal, barley, wheat, rye, buckwheat.
Krupka "3 cereals" Belovodye - rye, barley, wheat.
Krupka "Plover" Belovodye - rye germs (sprouts), rye bran, grains of endosperm and the outer layer of rye.
Bread recipe.Wheat flour - 400 grams
Flakes "5 cereals" - 50 grams
Groats "3 cereals" Belovodye - 30 grams
Krupka "Plover" Belovodye - 70 grams
Total multi-grain grits - 150 grams, which is 37.5% by weight of flour - this is quite a lot.
Old cottage cheese - 250 grams
Curd serum - 350 ml.
Semi-liquid honey - 1.5 tbsp. l
Vegetable oil - 2 tbsp. l
Coarse salt - 1.5 tsp
Active dry yeast - 1.8 tsp.
Why do I use these products?The composition of grains and flakes is quite varied and is present in the recipe in large quantities in relation to wheat flour.
For such a quantity of crumbs, a sufficient amount of liquid and sufficient lifting force are required.
For these purposes, I use old cottage cheese, which the older and sour the better for the dough. Old cottage cheese in the dough works like yeast and makes the dough rise well.
Curd whey also has good lifting power.
Vegetable oil helps to make the dough more elastic and keep the crust of the bread in good shape
You can read more about the properties of products and their effect on dough and bread in the topic "The main components of bread dough and their effect on dough"
https://mcooker-enm.tomathouse.com/index.php@option=com_smf&topic=38942.0I want to note that all the components in the bread recipe are clearly verified in terms of the amount of liquid, but during kneading, some adjustment of flour and water is possible.I also want to warn you that I knead the dough in a bread maker on the Dough program, at a time of 1.40, and bake bread in the oven.
You can safely put the program Main (basic) on time 3.50. If you have this program for less time, it is better to set the program Cereal bread (or similar), 4 hours in time. This is necessary for baking bread with cereal grits (whole grain flour). The bread will be more successful and tasty.
So let's go! There is nothing terrible! We will make very soft and airy bread from heavy grains inside!
Preparation:At the bottom of the bucket we put cottage cheese, whey, honey, butter - that is, all liquid products.
Sift flour on top and add grains and flakes.
Add salt and yeast on top.
I do not mind if you lay the food in the reverse order, or as you see fit.
We turn on the bread maker:
- I turn on the Dough program (time 1.40). If you bake bread in the oven, you will repeat all the steps after me.
- If you bake bread in a bread maker, then immediately set the Basic (basic) or Wholegrain program.Start of mixing. This is how the products look during the kneading process, with a slow first (preliminary) kneading of the dough. Flakes and pieces of cottage cheese are visible.
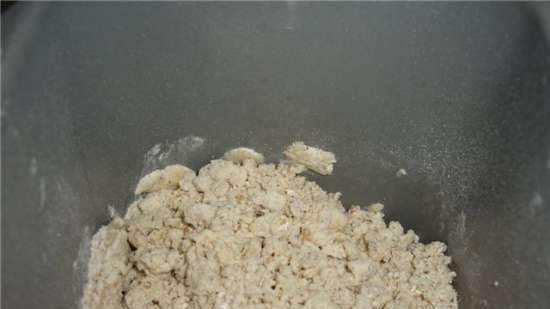 End of the first batch
... This is how the bun looks after the first kneading, kneaded, but still shaggy. When you press on it, it sticks to your hands, but also soft enough.
Our task now, with heavy flakes, is to make a soft and pliable kolobok. But so that the bun does not float in the liquid at the bottom!
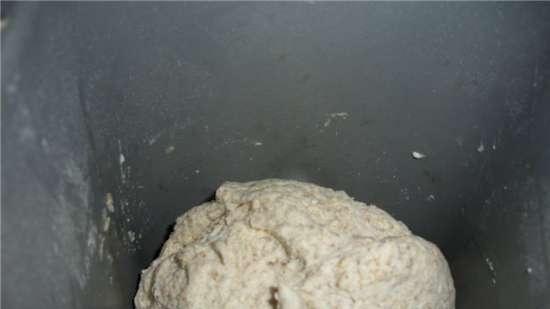 End of the second batch
... Feel the difference between the first and second batch! Gingerbread man is soft, plastic, neat! Feel it with your fingers!
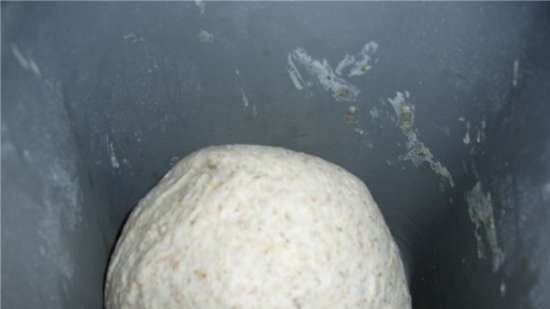 End of the first proofing.
 This is what the dough looks like after the first proofing in a bread machine.
What a pretty one !!!!! And his hat is neat !!!!!
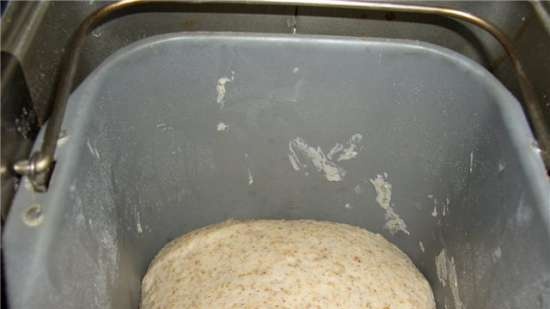 The dough after the first proofing. This is how your dough will look like if you took it out of the bucket!
 Look what a beauty !!! I show you on purpose - you yourself will not see this in your bread maker - then admire it from the side !!!!!
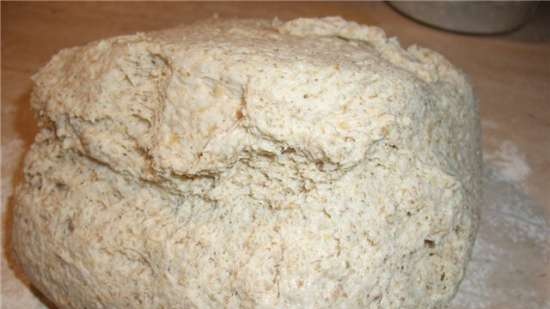
And closer ... it must be seen !!!!
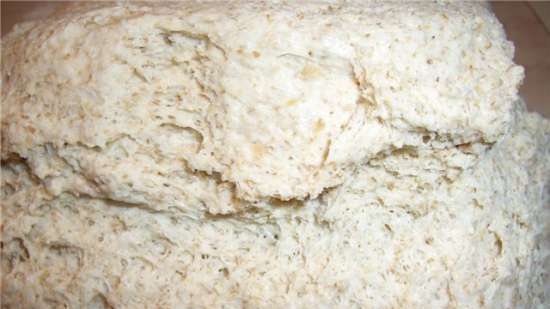 Now we have parted ways!
You continue to bake bread in the bread maker!
I will mold the bread into a mold and will bake it in the oven.I knead the dough and put it in the mold. The dough takes up half the volume of the mold - mark this mark. The dough should increase in volume by 2-2.5 times and no more. Do not look at the clock - the volume of the test is important for us - it rises as it rises.
I can tell right away that with this recipe and this bun, the dough rose quickly enough. This could have been foreseen, it was enough to see the dough after the first proofing!
The consistency of the dough is soft and plastic, it will not hold the form for the loaf!
It is very pleasant to work with such a dough, does not stick to hands and molds very well in the hands.
We will let stand in the oven at 30 * C.
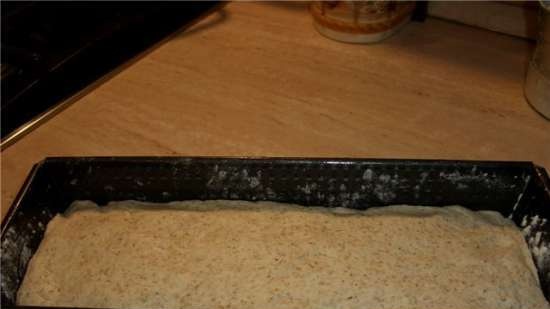 End of the second proofing.
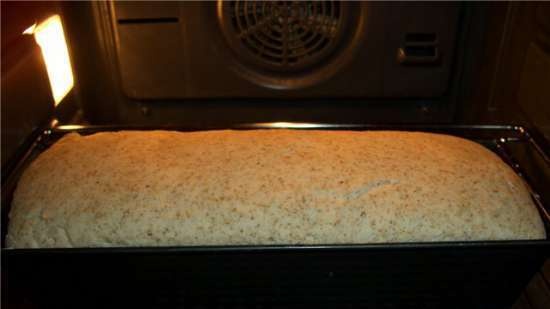
 This is what the dough looks like while in the oven. Look what a neat crust turned out, even and without breaks - so everything is going well so far! The dough was exactly as far away as needed!
We increase the oven temperature to 180 * C and the baking process began.
 Bread is ready!
 This is how bread looks like after baking in the oven! The crust still lifted in the oven, but remained flat and neat, the roof did not collapse!
I check the readiness of bread baking with a temperature probe 94-96 * C inside the dough.
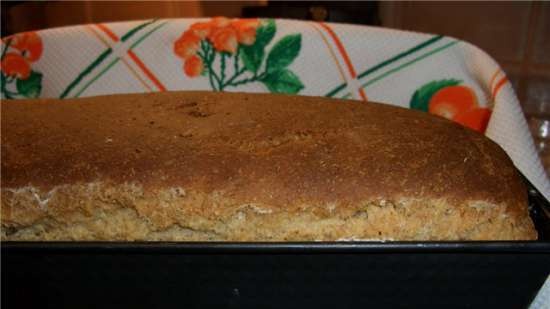
I take the bread out of the mold and put it on the wire rack under the towel to cool. The bread turned out to be very, very soft inside, it breathes directly with a light touch !!!!!
The result is a beautiful and healthy and healthy grain bread !!!!
There will be no cutting !!!!!
The bread went to the eaters!
I recommend making this bread - you won't regret it!
And do not be afraid to use various ingredients in your recipes - it is important just to know the interaction of the kneaded products with each other and follow the rules of the kolobok - the rest will be done automatically!
Bon appetit, everyone! Bake and eat to your health!


