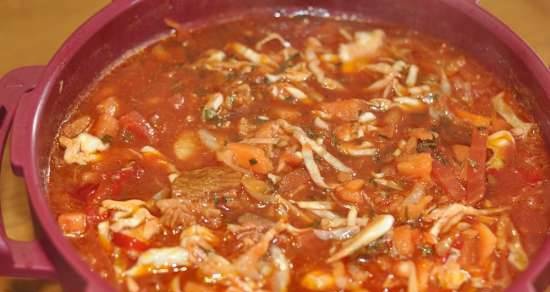
Girls and boys, dear, hello!
Made my first recipe Thanks Admin for the incentive
(*** Relaxed wording of the definition of incentive:
Stimulus - a stick with a pointed end, with the help of which the donkey is helped to understand (through touching the "soft spot") that he must continue to move.
The first one went! It looks like a pancake, and, apparently, not without a combo Spoiler in recipe mode for some reason does not work
If it is more convenient for someone to view the version of the recipe with a spoiler, then it is here (without the composition of the ingredients):
Stage 1.
Preparation of cabbage leaves.
Step 1.
Dip the cabbage forks into a saucepan and pour boiling water to the level of the pump.
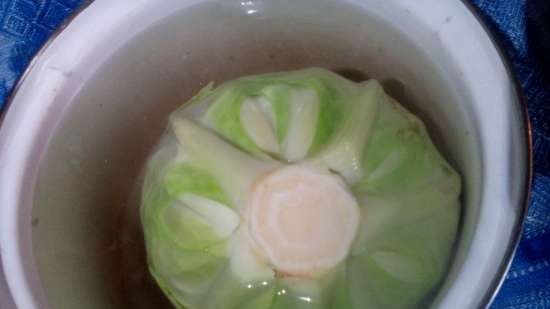
Step 2.
Cover the pot with a lid and put on a small fire (heat), so that the state of the water is on the verge of boiling, but not boiling. Cabbage needs to be warmed up for the convenience of separating the leaves.
Step 3.
In min. 15-20 remove cabbage from the pan, make cuts at the base of the leaves near the roach:
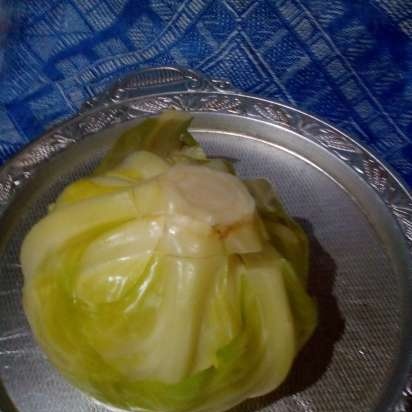
Step 4.
Remove leaves:
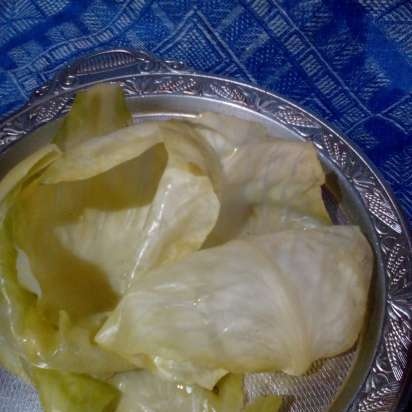
* Re-lower the rest of the cabbage fork into a saucepan with boiling water to finish heating it.
Step 5.
Process cabbage leaves. Cut off the thickening along the center line of the sheet:
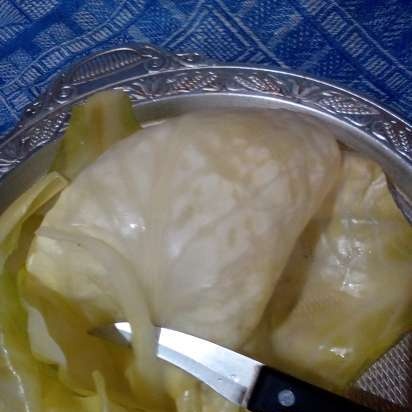
Result:
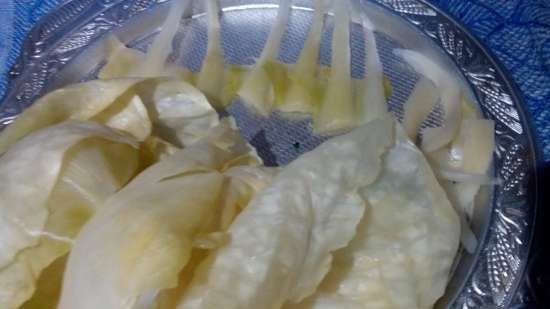
* Repeat the procedure with the re-extracted cabbage fork.
*** You can also warm up the cabbage for the convenience of separating the leaves in the microwave:
https://mcooker-enm.tomathouse.com/index.php@option=com_smf&topic=369544.0
Stage 2.
Cooking stuffing (minced meat).
Step 1.
We take 600 g of cottage cheese. It should be fresh, not sour. I have homemade, prepared by mowing milk:
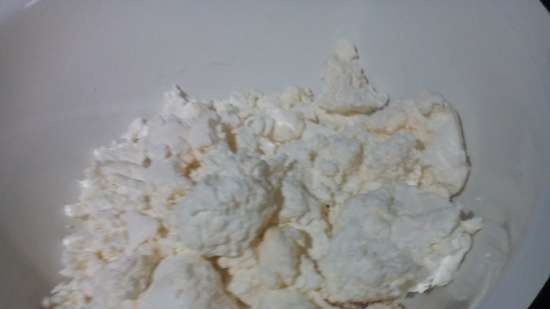
Step 2.
We cut off the stems of the parsley. In the remainder - 30-40 g of parsley sprigs. We cut them:
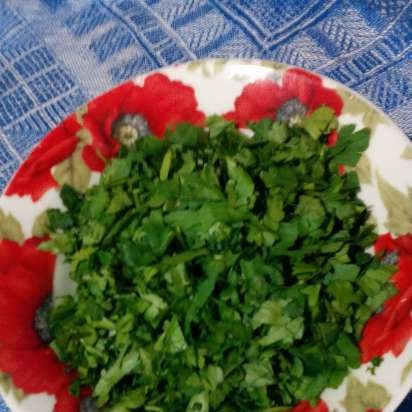
Step 3.
Add prepared parsley to cottage cheese:
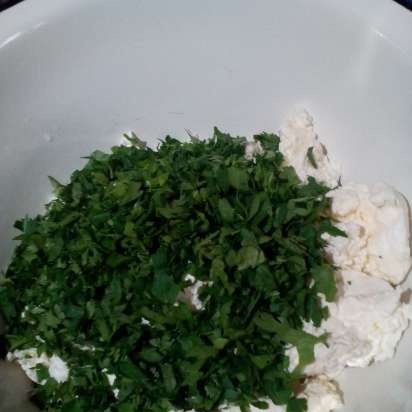
We mix.
Step 4.
Seasoning for Pesto "Pesto with pumpkin seeds" Kotanyi Italia.
Take a tablespoon of seasoning (contains salt):
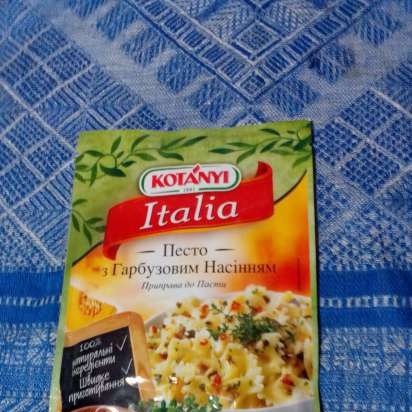
Add to the curd:
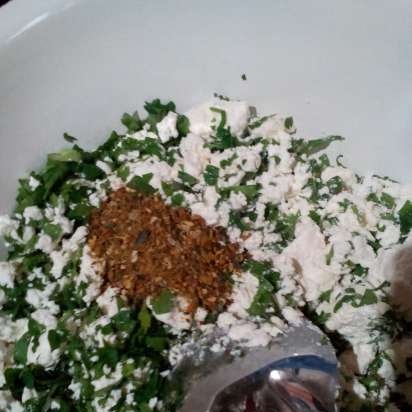
Step 5.
Beat 3 eggs into the filling. Add a pinch of salt (to bring to the desired salinity, taking into account the salt in the spices) and 0.5 tsp. ground black pepper:
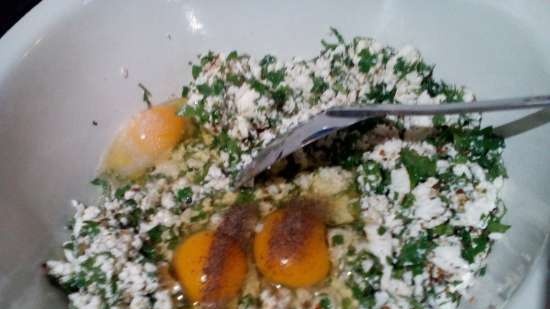
We mix.
Step 6.
Take 100g of boiled chicken breast. Cut into small pieces:
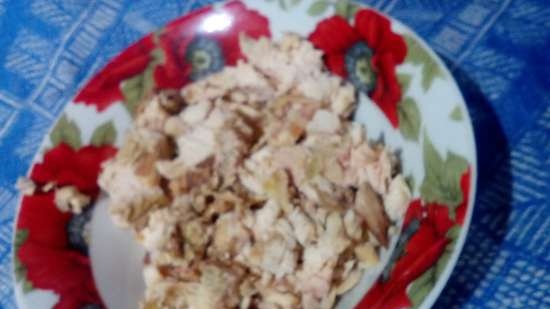
Add to the filling:
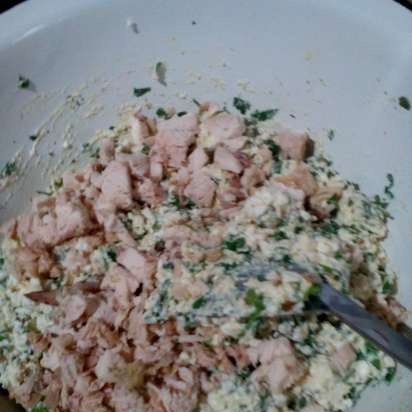
We mix.
Step 7.
Add 1 tsp. ground paprika (can be taken in petals or pieces of finely chopped fresh pepper):
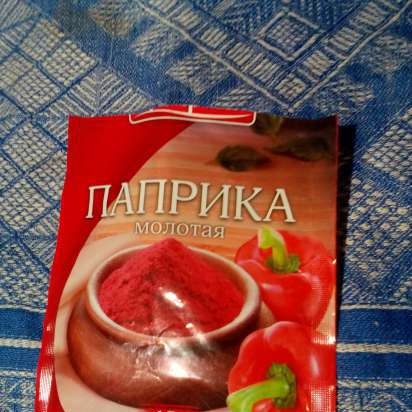
We mix.
All. The filling is ready.
* You can make variations with other (favorite spices).
* Instead of a set of spices, you can use just salt and black pepper (sometimes I make salt, pepper, pieces of sun-dried tomatoes; or salt, pepper + dried barberry).
* If using your favorite spices, you can add a handful of crushed walnut kernels or toasted pumpkin seeds
* Meatless version can be made.
Stage 3.
Molding of "stuffed cabbage" products
Stuffed cabbage molding (traditional).
Step 1. Put the filling on the processed cabbage leaf:
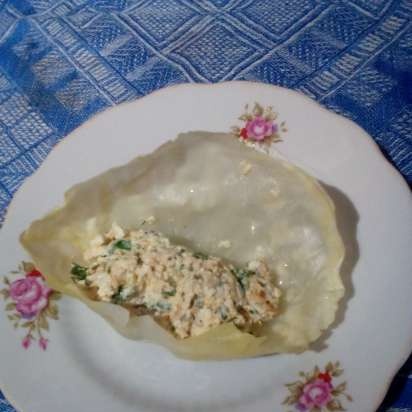
Step 2. We start wrapping. Cover the filling (minced meat) with a part of the sheet:
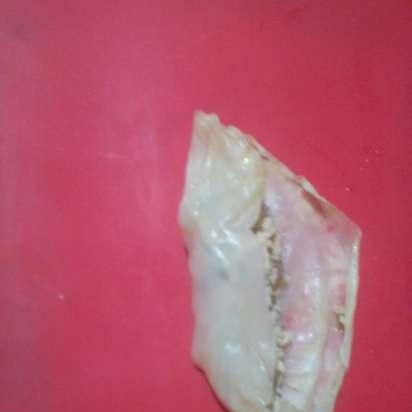
Step 3. We wrap up the side parts of the sheet:
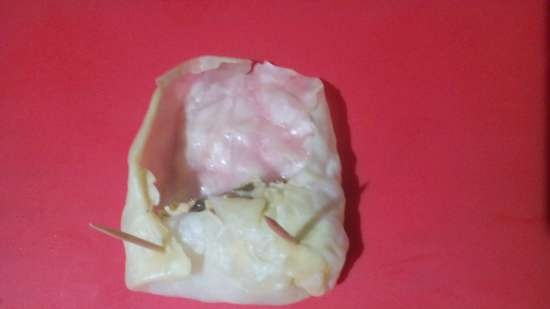
Step 4. Turn the main (central) part again:
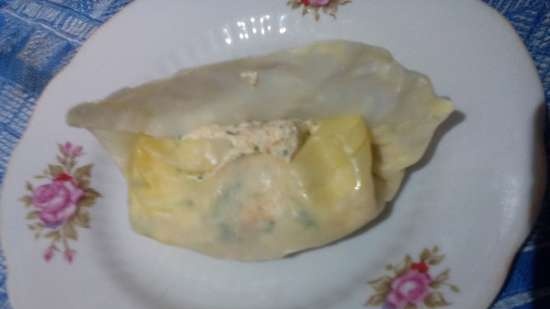
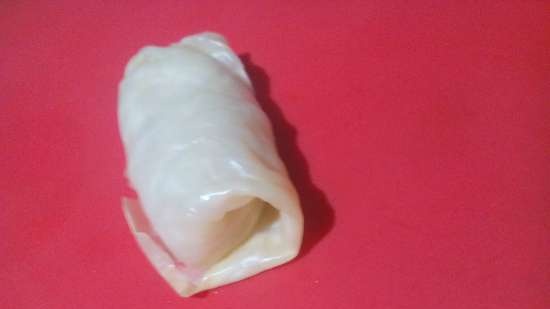
Step 5. Everything, ready:
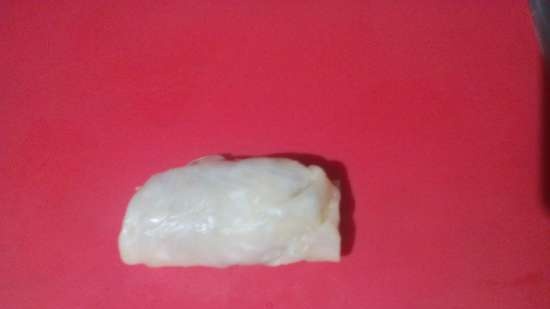
Side view:
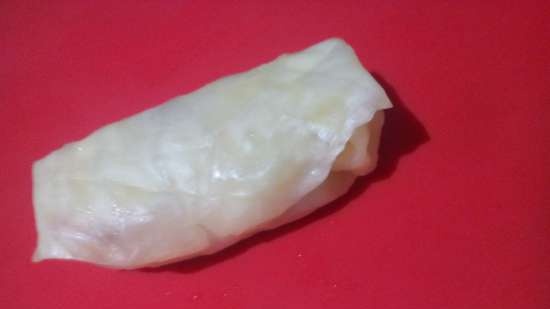
Bottom view:
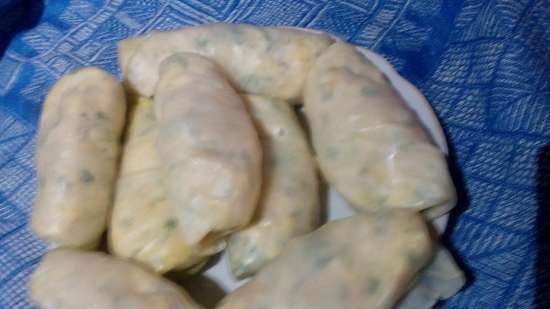
Prepared portion for Tortilla:
Forming "ears".
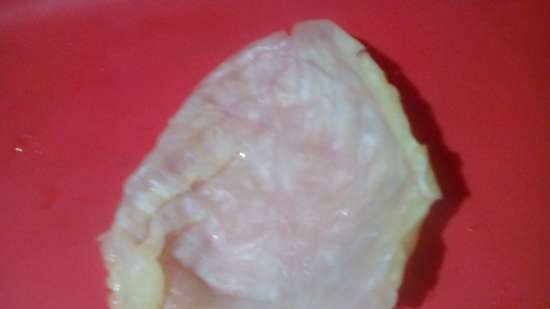
Step 1. Take a peeled cabbage leaf (with a cut off thickening):
Step 2. In the middle (center line), we begin to cut with scissors or a knife:
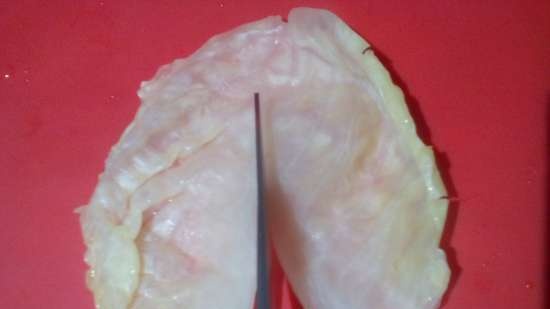
Step 3. Finish:
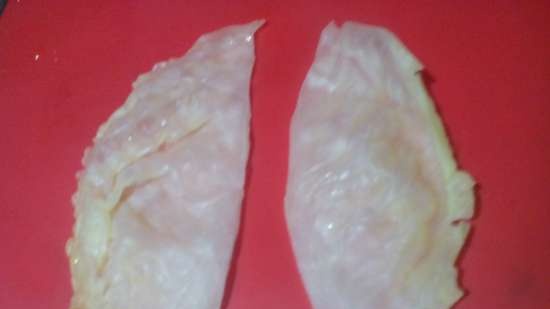
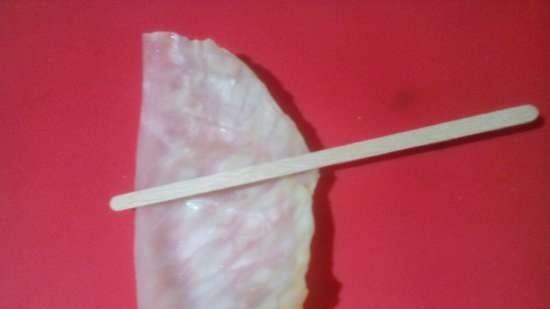
Step 4. Take half of the sheet. Place on the surface center cut (harder part of the sheet) on the left:
Step 5. We spread the filling:
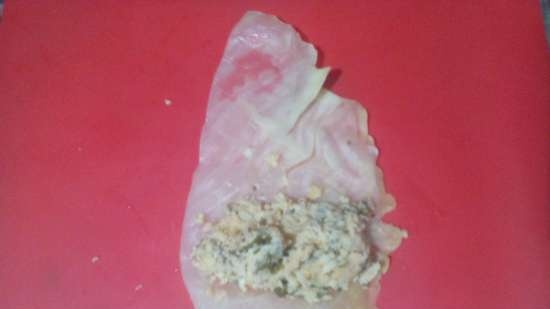
Step 6. We start molding with a "corner" (or "triangle":
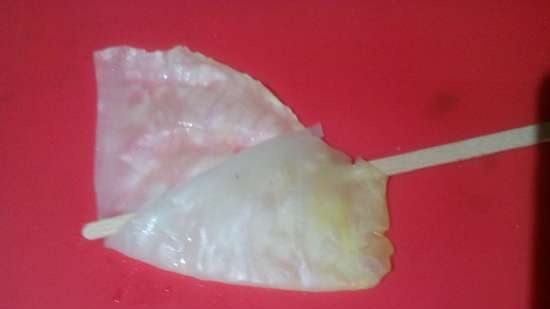
With filling:
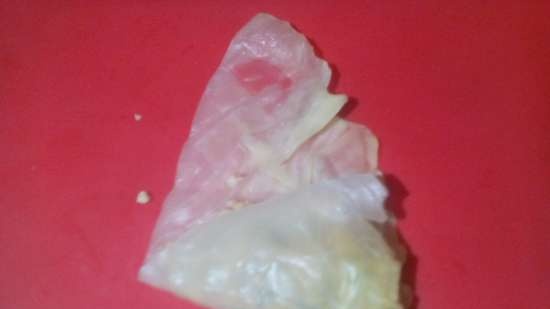
Step 6. Once again, turn to the corner:

"Corner" without filling:
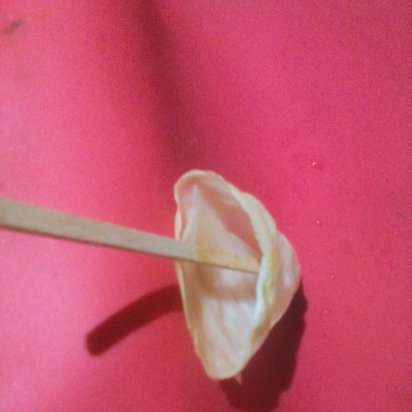
With filling:
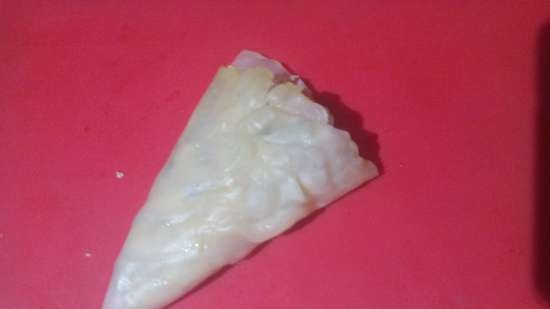
*** Please note that a hole does not form in the lower sharp corner during folding:
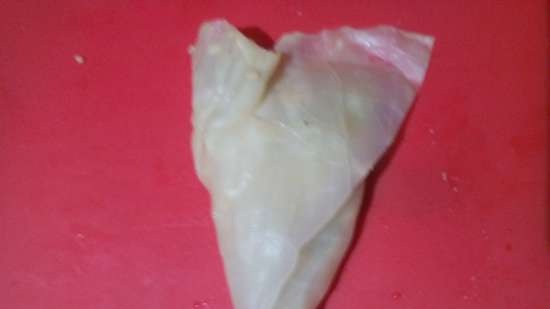
Should be:
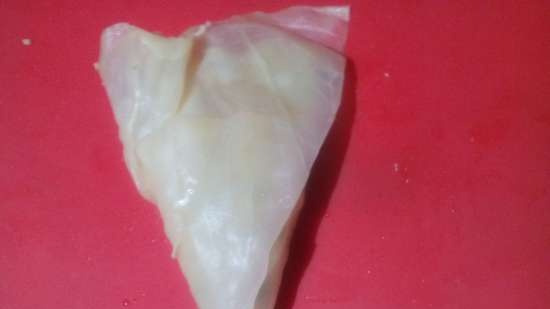
To do this, when molding, we monitor the tightness of the edge. In this case, the filling inside the "corner" can, as it were, rise. Not scary. It will then fall into place when the top is closed. If there is an excess of filling, then it can be taken away at the final stage.
Step 7. The upper part of the "corner" is not rigid (the side of the cabbage leaf):
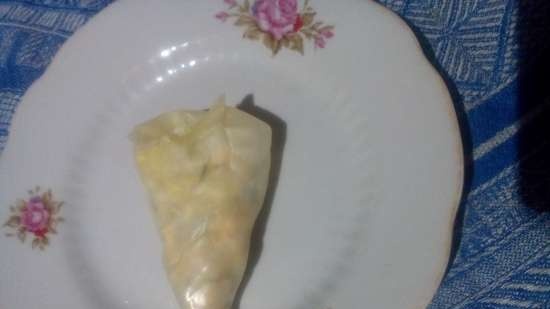
Turn one side of the top edge inward:
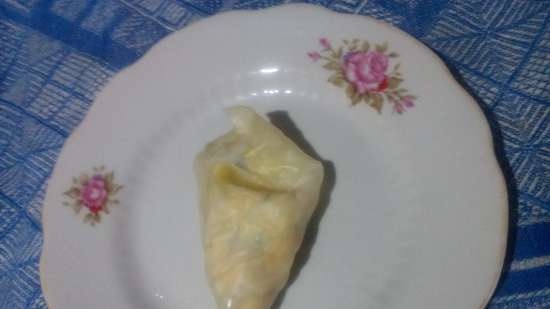
Step 8. And the second part:
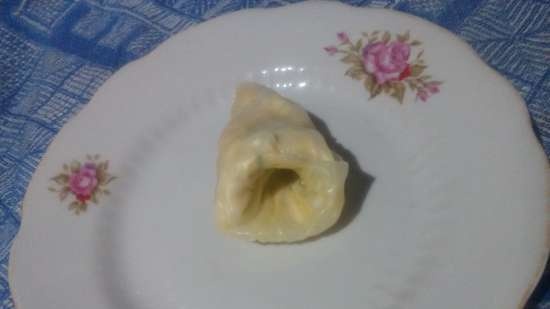
"Flatten" on top with your palm. Everything is ready:
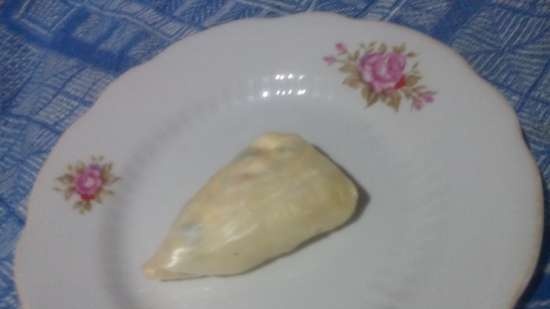
Prepared portion for laying in Tortilla:

Cylinder (or tube) molding.
Step 1.
We take a cabbage leaf and put the filling on it:
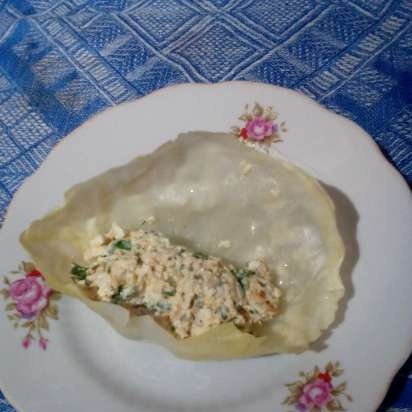
Step 2.
We turn to close the filling:
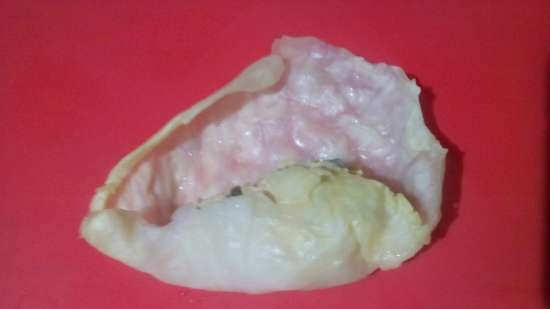
Step 3.
And to the end:
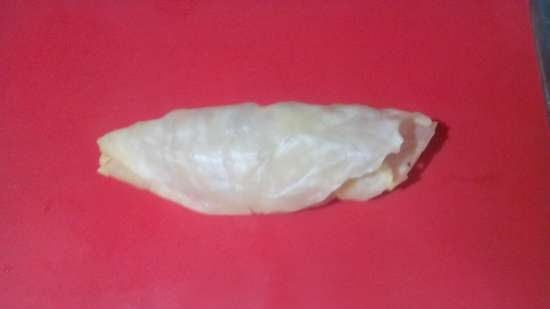
Step 4.
We fill the sides alternately inside the stuffed cabbage roll. On the one hand, in this way:
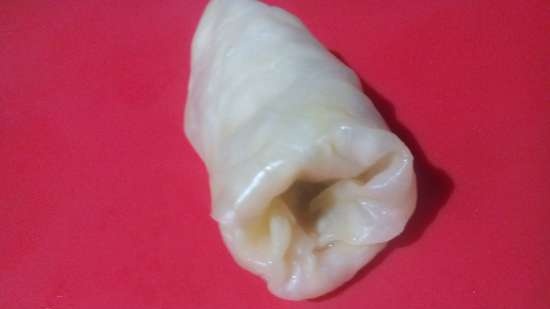
Step 5.
And on the other hand:
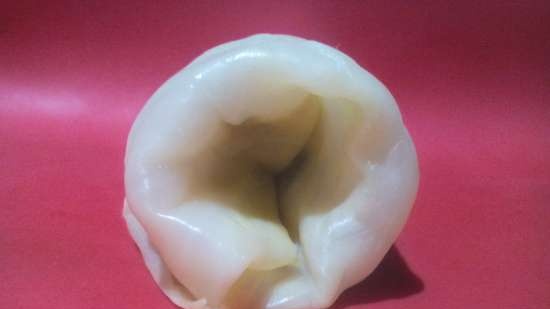
Everything is ready:
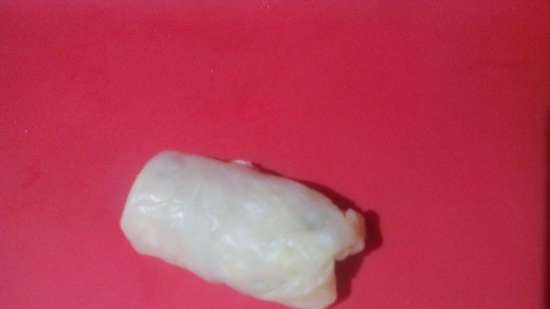
* With this form of molding, the external gravy (in which the cabbage rolls are boiled) better penetrates the cabbage roll. Stuffed cabbage rolls are more juicy.
Forming "square".
We place the filling in the middle (center) of the cabbage leaf:
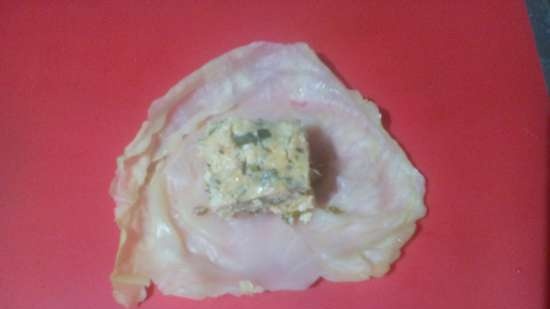
We turn:
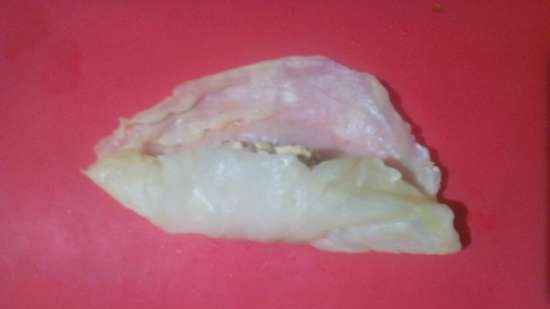
Lays down the sides of the "wings":
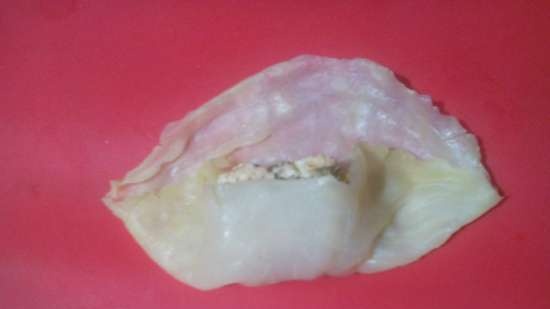
We wrap the side parts to the center, giving the workpiece a square shape:
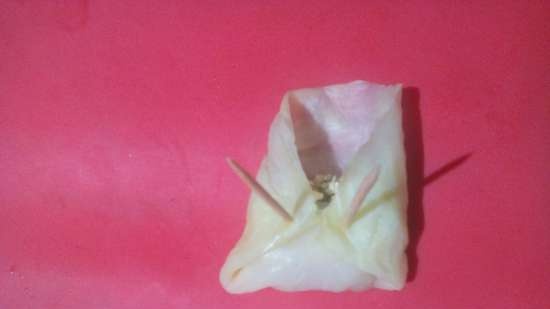
We finish with a twist and slightly flatten with your hand:
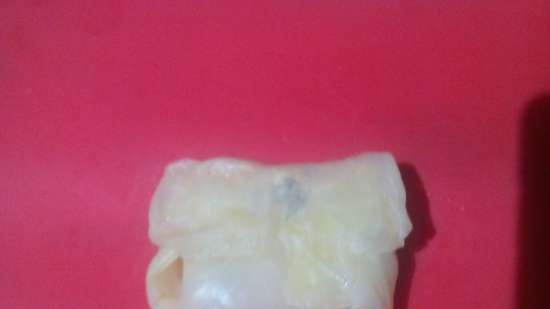
Sidewall:
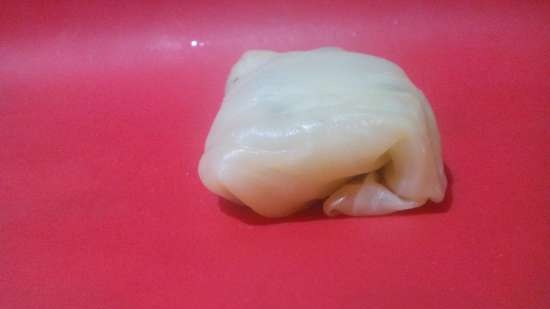
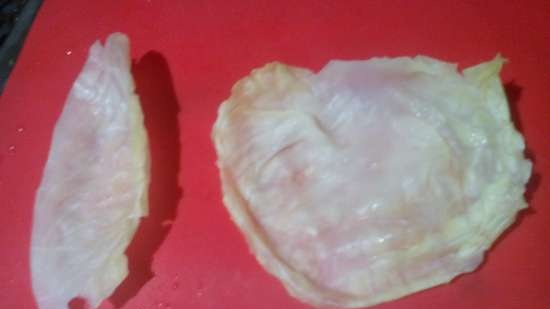
"Pipe" type molding.
For this type of molding, whole cabbage leaves of a small size or half sheets of medium and smaller than medium size are used:
We spread the filling with an oblong "tube" at the base of a whole cabbage leaf and along the line of the stripped mid-cut for a half-sheet blank:
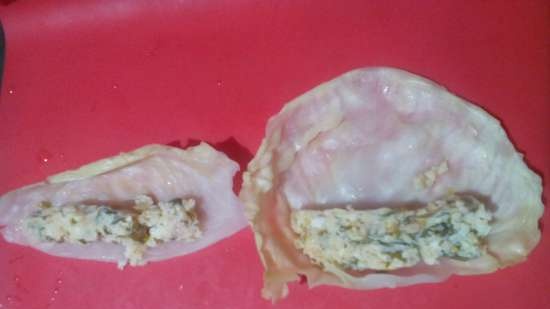
We wrap it up with a "pipe". The sides of the workpiece remain open (not tucked in):
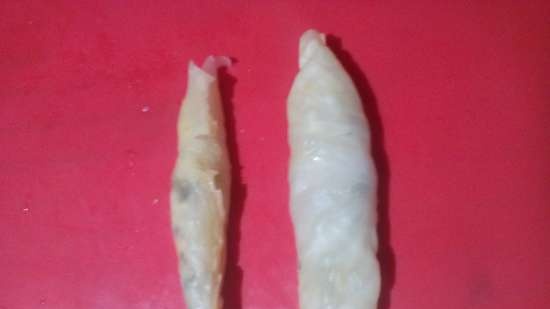
Attention! With the final turn, we should overlap the joint between the base of the stuffed cabbage leaf and the top of the leaf by 1-1.5 cm:
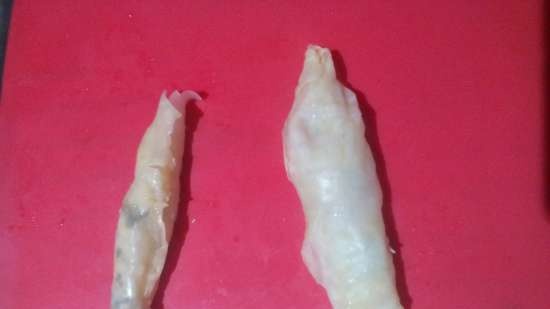
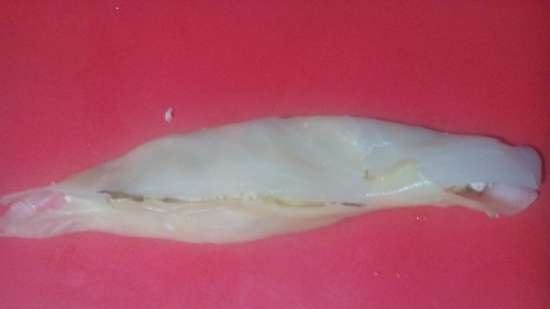
There should be no "simple docking" or residual clearance.
It should not be:
* With this form of molding, the external gravy (in which the cabbage rolls are boiled) better penetrates the cabbage roll. Stuffed cabbage rolls are more juicy.
Stage 4.
Cooking.
*** For the information of those who want to cook "ears" or cabbage rolls in another apparatus or in the oven:
1. Correspondence of the position of the Tortillka heating regulator with the temperature regime:
at the position of the heating regulator "2" - t * = 130 * (+/- 15 *)
at the position of the heating regulator "2.5" - t * = 150 * (+/- 15 *)
at the position of the heating regulator "5" - t * = 215 * (+/- 15 *)
2. In devices (cookware) with greater depth, you can use more cream for stewing. In this case, you need to independently adjust the amount of salt and seasoning to taste.
3. You can use lower fat liquid cream.
Or (instead of cream) not sour sour cream, diluted somewhere on
1/3 with water.
Or a mixture of sour cream, mayonnaise and some water.
Step 1.
Turn on the device. Regulator for 5. Put one tablespoon of homemade cream in the Tortilla.
Step 2.
We shift the prepared "ears" to Tortilla:

Step 3.
Sprinkle with seasoning on top (1 tsp):
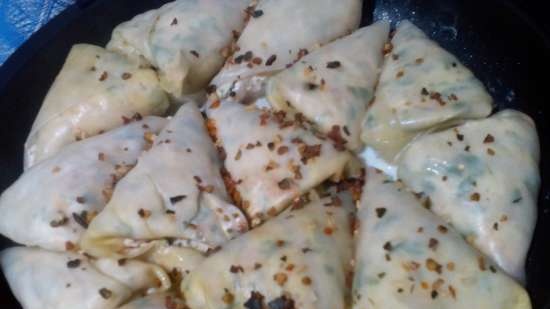
Step 4. Move the regulator to position 2.5. We close the stove (without fixing the handles). In 10 minutes.:

Step 5.
Add 1 tbsp. l. milk (or cream) *. May be sprinkled with chopped parsley. We close the stove, set the regulator to 2 and simmer for another 30-40 minutes. You can keep it closed for a little more after turning off.
* If you add a second spoonful of milk (cream) at the beginning of cooking, then when the regulator is set to 2.5 (first 10 minutes), the gravy will flow out of the pan.
* If you need to immediately put 2 tbsp. l., so as not to look, then the regulator after warming up to 5, immediately set to 2, the timer for 30 minutes. and let it simmer for 30-40 minutes. + stand up.
Step 6.
We open the stove:

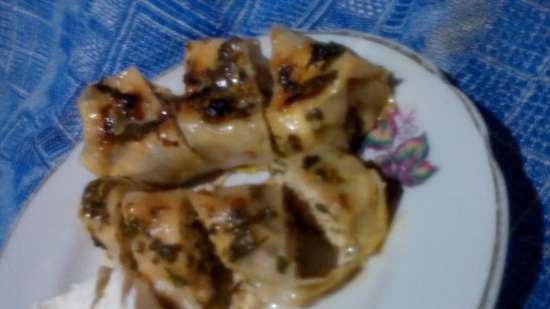
In a saucer with a gold border:
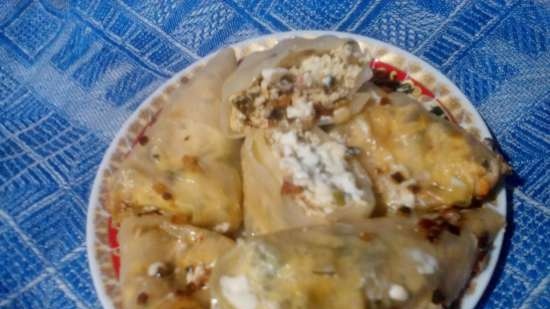
With sour cream:
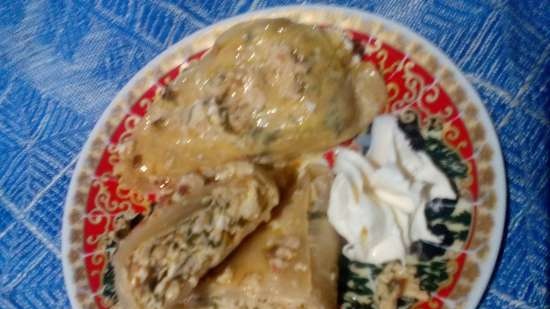
The second batch was made in the form of cabbage rolls.
Step 1.
Pour 1 tbsp into Tortilla. l. vegetable oil (I have olive oil):
Step 2.
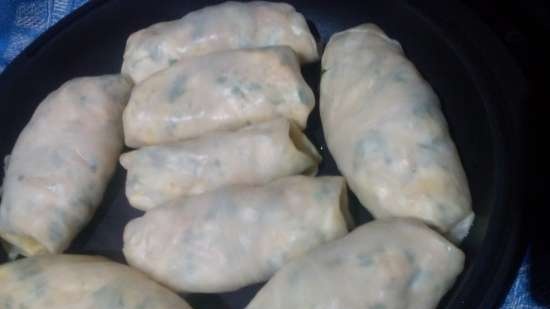
We turn on the stove. The regulator is 5. We lay the prepared stuffed cabbage rolls:
Step 3.
We close the stove (without fixing the handles). After 2.5 minutes, fixing the handles (or simply holding tightly with your hand), turn the Tortilla over. You don't have to open it. The top view after the coup will be like this:

Step 4.
After another 2.5 minutes. we return the stove by turning it to its original position. We open. Add 1 tbsp. l. home (market) cream:

Step 5.
Slightly spread the cream at the seams between the stuffed cabbage rolls, close, and set the regulator to 2.5 for 10 minutes.
(*** As you can see in the photo, I added two tablespoons of cream at once. Here's how many there were:
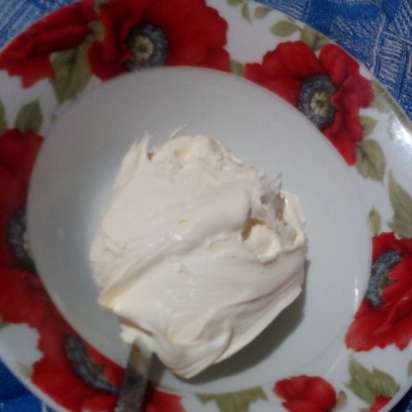
Therefore, after 5 minutes. by 2.5, Tortilla began to whimper. I had to open the top cover and move the regulator 2 ahead of time. To prevent this from happening (I already wrote in the "ears"), the cream must be added in parts.)
Step 6. After 10 minutes. open the stove. Add 1 more tbsp. l. (top off) cream, sprinkle with chopped parsley:

We level the cream and parsley:

Step 7.
We close the stove. We translate the regulator to 2, turn the timer a full turn (30 min.) + Let it stand a little after the stove has finished working.
Result in Tortilla:
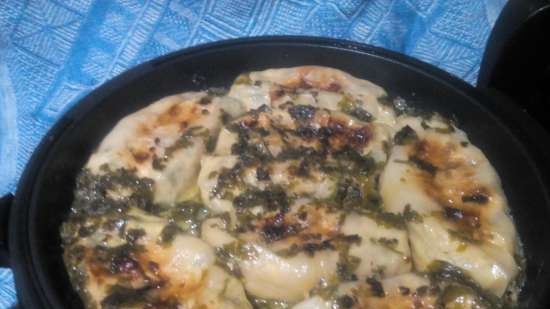
On a tray:
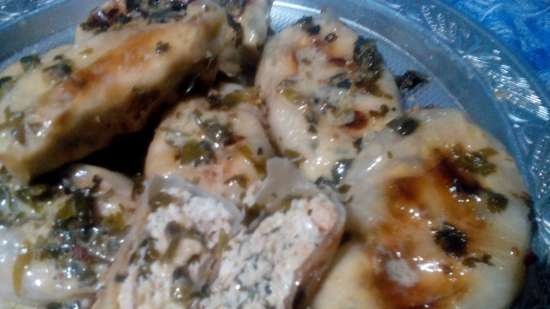
On a plate:
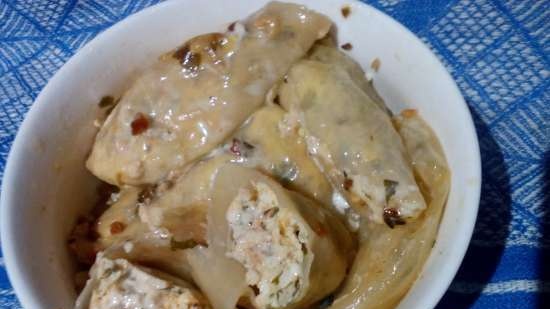
With sour cream:
Let everything turn out delicious


