|
Miranda
 When people are into cooking, sooner or later they will want to make their own bread. When people start making bread, sooner or later they will want to make unusual bread. And when making unusual bread, sooner or later they will want to make their own flour. Because not all the shops have unusual flour, or because it is expensive, or simply because they experienced the joy of doing a lot on their own, and not buying ready-made. And then they are faced with the question of the mill. When people are into cooking, sooner or later they will want to make their own bread. When people start making bread, sooner or later they will want to make unusual bread. And when making unusual bread, sooner or later they will want to make their own flour. Because not all the shops have unusual flour, or because it is expensive, or simply because they experienced the joy of doing a lot on their own, and not buying ready-made. And then they are faced with the question of the mill.
Choosing a mill is as difficult as choosing any other technique. Because there is a very wide range of prices - from 5-7 + - thousand, up to 70 or even 100 thousand. The size of the mill also matters. And more material - stone millstones, iron, etc.
Because I am not an expert, I will not even begin to try to talk about the variety of mills, their efficiency, etc. I was lucky to have a Kenwood kitchen machine, for which you can simply buy a mill attachment without having to worry about choosing. And thanks to the mutual assistance of members of the forum, who always share where-what-how much you can buy cheaper than the standard price, I was still lucky with a bargain purchase (Belka13, thanks again!).
I simply would not write about a nozzle for a kitchen machine, but the mill has a widespread design, and, as it turned out during the study, it is made for Kenwood by a manufacturer that produces stand-alone mills. But more on that below.
***
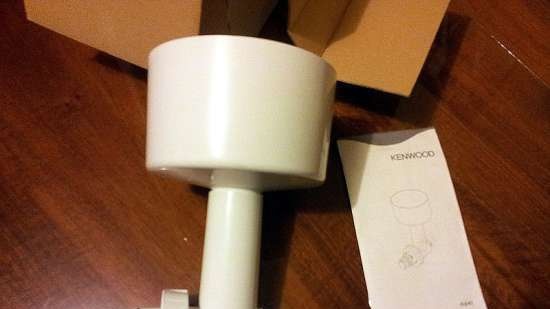
So, let's first consider the box and the structure of the mill.
The box at the groats mill attachment is very unremarkable!
Just a cardboard box with a sticker, no drawings, no beauty.

On the sides there is nothing but a lonely inscription "Made in Germany".

Compare with other Kenwood accessory boxes.
Maybe I have some old batch, and new ones are packed into beautiful ones - I don't know.

Very old nozzles, which were produced 30 years or more ago, were also packed in not very bright boxes. Well, for example, a pasta maker. However, some pictures are still present. Or the A724 coffee grinder, which, judging by the videos on YouTube and the demand for ebay, is gaining a second wind, although it has not been released for a long time. On occasion, I also want to buy, it is very retro, well, productive.
 
Everything inside the box is also modest - a nozzle and instructions.

The instructions have a section in Russian.
I like the fact that in the new technique of any brand, the pictures began to be taken out on a separate leaf. Buyers from different countries do not need to scroll to the first page to view the pictures. And the same page can be bookmarked on the desired page.

To prevent parts from walking around the box, manufacturers use either foam or the box itself, bending the cardboard in a special way. Here is the second option.

The auger with the millstones is packed in pimpled cellophane, and the bowl is just in a bag. Once along the entire route from the manufacturer, the store, and arrived at me normally, this is probably normal. But there is still a feeling of insecurity.

Auger assembly + bowl + instructions - that's all.
Put on the bowl and the attachment is assembled.

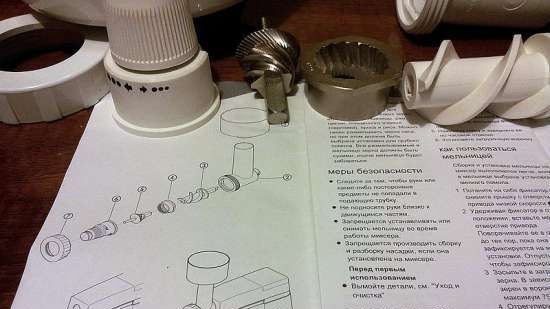
Let's take a look at the screw structure.
Right to left - plastic auger, strong plastic. Two parts of an iron millstone structure, a grinding regulator ring, a fixing ring.

It is very easy to assemble and disassemble.
Insert the auger, then the burr. There is a groove, this part cannot be put in any other way, except as the correct one.
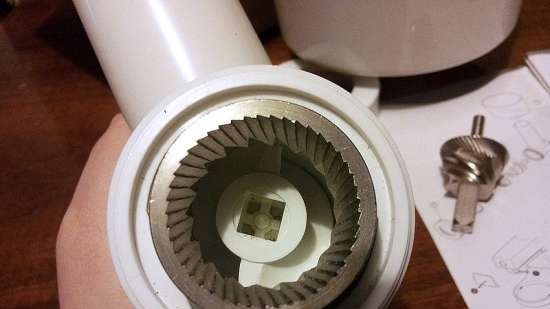
Then the second millstone part, also the only possible way.
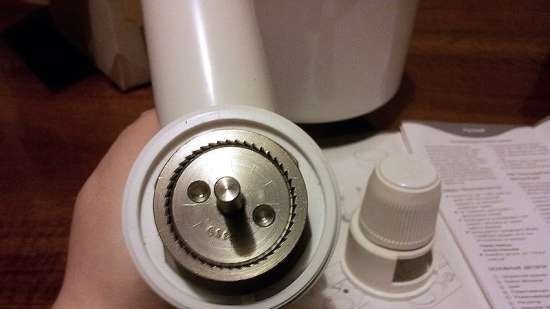
The regulating ring also has its own groove, which will prevent it from being placed incorrectly. And it remains only to secure everything with a fixing ring.
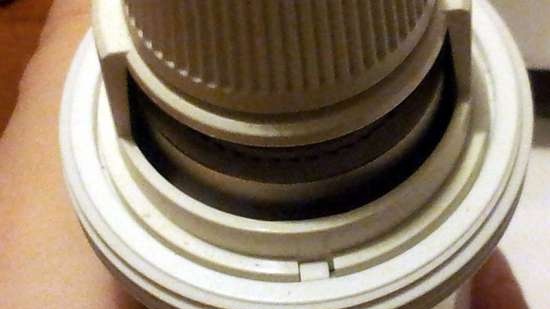
If you turn clockwise, you can increase the degree of grind. You cannot turn the stop lines further.
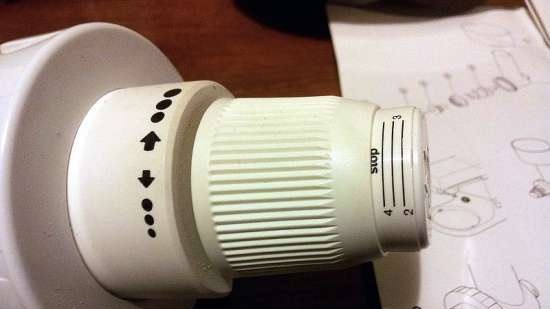
You can set the smallest grind counterclockwise. And in this position, it is best to insert it into the machine, and then set the required degree of grind.
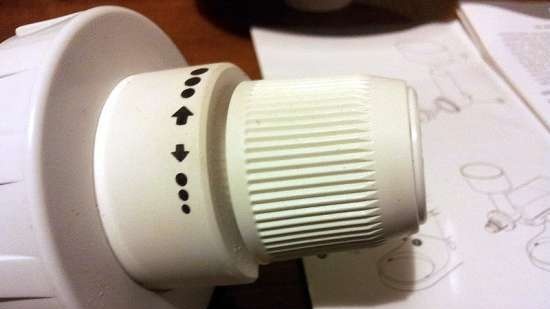
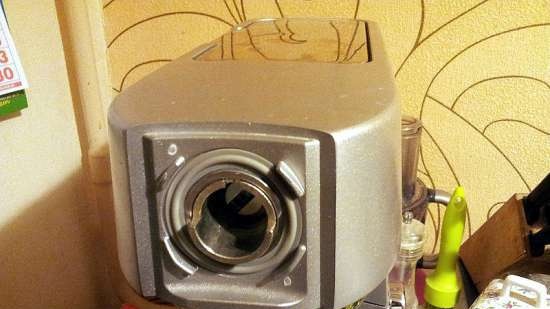
On the back is a flat pin that fits into the low speed slot. This type of connection has not changed for over 60 years. Therefore, you can safely buy an old paste maker, a coffee grinder, and other attachments for a low-speed socket - all have the same mount.
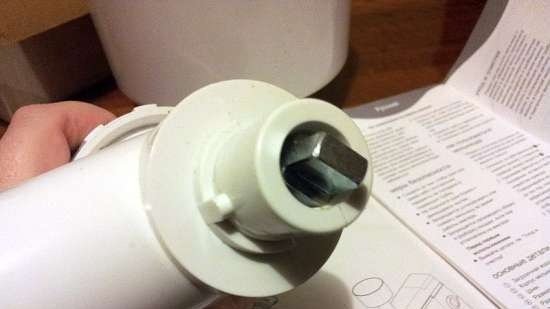
Two or three years ago Kenwood decided to change the connection for this jack. Sense machines, Kmix machines, the new Titanium backlit machines, and even the new induction model, which they promise to start selling with us in mid-2017, have a hex connection.
If you have a car with an old connection, then you need to buy the AT941, and if with a hexagon, then the KAX941. However, there are adapters from the old to the new, and vice versa.
***
Before proceeding to testing the mill, I will tell you what was promised about the design.
Examining different mills, not yet having my own, I noticed that there are straight twin brothers of the Kenwood nozzle. Well, really, they are similar? Manual version with motor.
 
Yes, and the Zelmer meat grinder, although not a twin already, but the design of the mill is similar.
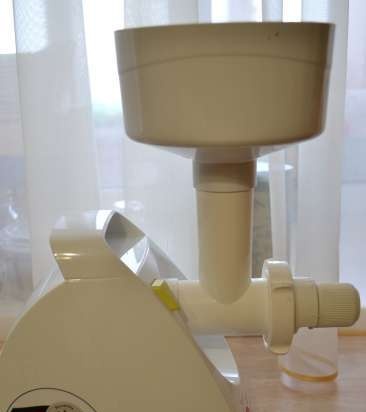
You can read an overview of the grinder here
Zelmer 987.80 electric meat grinder review
The principle of such a metal ribbed millstone structure has been used for a long time. Plus or minus minor changes.
For example, the Soviet hand mill Mriya is made according to the same principle.

By the way, if we talk about Russian production, then meat grinder "Gamma-7-01" one of the complete sets has a grinder grinder. And, perhaps, this is the cheapest offer on the market for electric mills.
But, back to the twin brothers.
Everything inside them, except for the end of the plastic auger, is the same.

The manual version can be found under the name Messerschmidt, and with the motor - Jupiter. Our prices are very high, and if you look in an overseas store, then the same thing is looked for under the names Messerschmidt Grain Mill and Family Grain Mill.
And at first I thought it was just everyone doing the same thing. Well, like the same for all manufacturers, for example, the shape of a frying pan. Those. design, color, material - everyone has different, but the form is classical.
But it turned out that the German division of Messerschmidt - Jupiter and produces these nozzles for Kenwood. That's where the "Made in Germany" box comes from!
Those. these are not twin brothers, they are one and the same. Therefore, the review will be of interest to those who are going to buy a Jupiter mill or a Messerschmidt mill.
Moreover, the company produces not only for other manufacturers, already immediately with their native mount, such as Kenwood or Ankarsrum, but also a large number of adapters.
Despite the fact that different brands have their own mills, many Bosch or KitchenAid users prefer to buy Messerschmidt ones with an adapter. There are many videos on YouTube with mills through an adapter.
 
Although, both Bosch and Kitchenade have everything of their own.
For example, you can read about the Bosch attachment here.
Bosch MUM Kitchen Machine Accessories
There is only one thing that remained unclear to me.
To the tame brother, they write in the instructions: "For grinding all types of grain (except corn). And also for poppy seeds and other oil-containing seeds."
To electro-brother Jupiter: "For grinding all types of grain (except corn). As well as oil-containing, flaxseed and sunflower seeds, poppy. Suitable for herbs."
And the Kenwood nozzle prohibits oil-containing grains.
Why? The design is the same! Or is it due to a different connection? Risk of hitting the motor? Or will the motor itself fail? Unclear.
Even the mill at Zelmer allows "for grinding wheat, rye, oats, rice, coffee, sugar, buckwheat, black peppercorns, mustard, walnuts, hazelnuts, dried mushrooms, almonds, flax seeds, sunflower seeds and other products."
Nevertheless, Kenwood does not allow grinding sugar, nuts, coffee, flax, poppy seeds, and other oil-containing products.
When it comes to corn, it means a whole grain of corn. It's very hard. You can use corn grits.
***
But back to the nozzle, and test several types of cereals.
I install all nozzles on the low-speed socket the same way - turn on the lowest speed, move the lever from the bottom and insert the nozzle. So it is best to get into the groove - the machine, as it were, pulls the nozzle into itself.
Once again I want to remind you that the mill is easier to install when the smallest grind is set. And then you can set the desired grind.
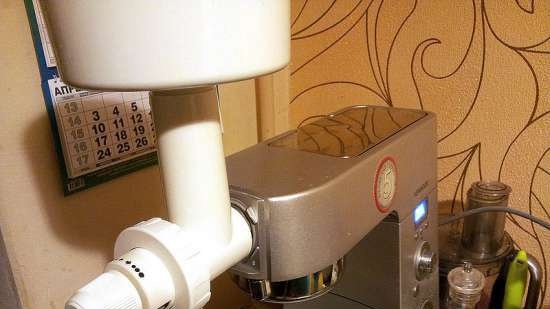
I'm going to grind corn grits and wheat.
Unfortunately, I don't have labels for cereals, but these are standard cereals.
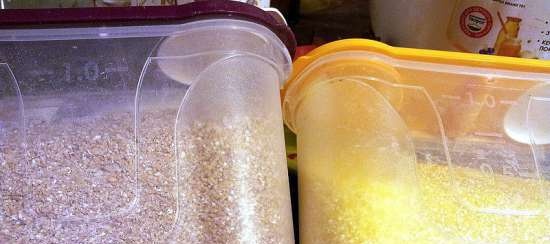
I'll start with corn - I fall asleep in a bowl.
I set the smallest grind. According to the instructions, I turn on the car at maximum speed.
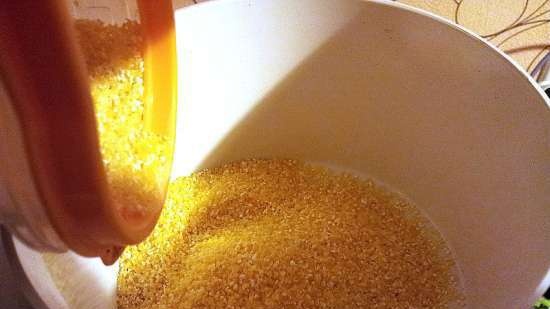
The process has begun!
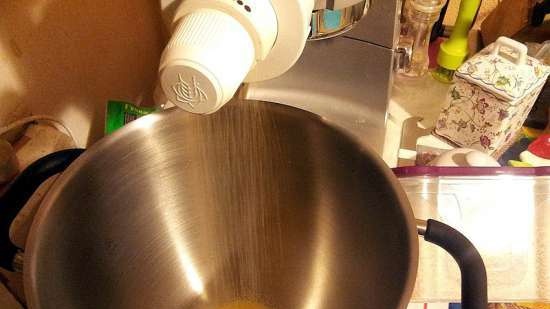
Pretty quickly, after 5-7 minutes all the croup was gone.
A very beautiful process, as the cereal is drawn into the funnel. You don't need to help her, every last grain will go away by itself.
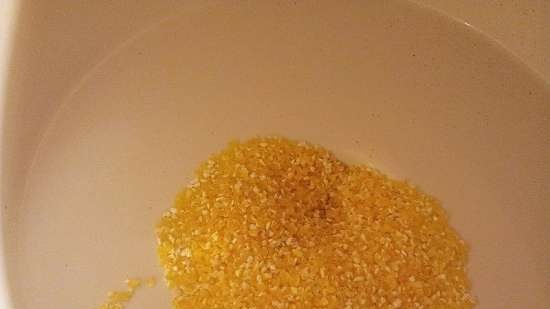
It was and it is
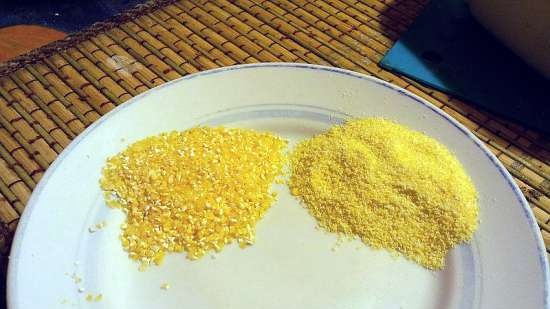
I have purchased cornmeal, and you can compare with it. Purchased (under the groats on the left) - thinner and lighter (however, the color is not only from the fineness of grinding, but also from storage, drying).
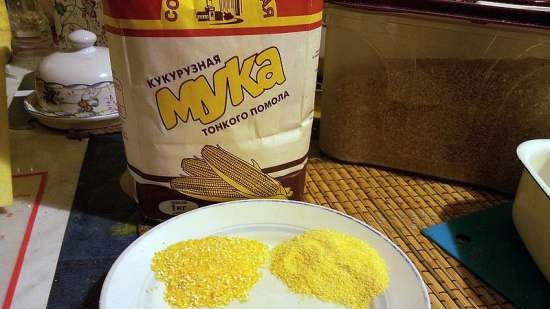
Therefore, I will drive it out one more time.
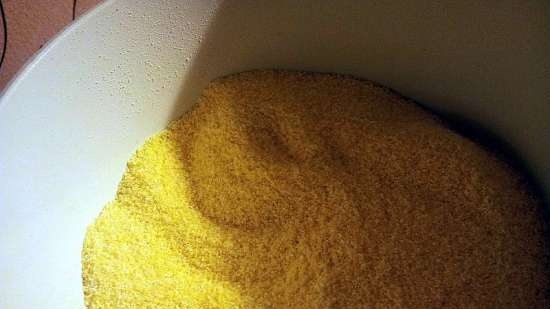
The photo does not fully convey, so I will add words. The second run is thinner and almost looks like purchased flour. It already suits me. But, I think, if I drove it for the third time, it would be a store option.
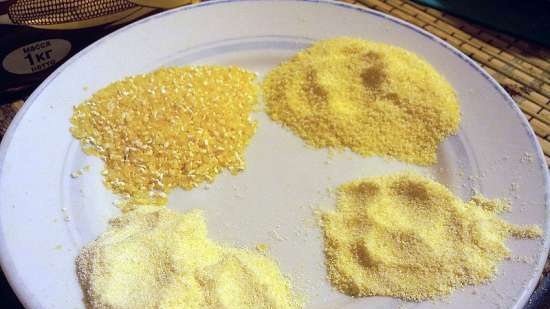
We will unscrew the nozzle. Either I did not wait for the end, or it always remains so. Several large pieces - I brushed the examples from the previous photo into the mill.
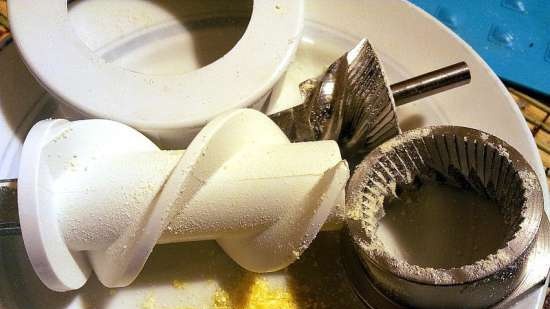
The cornmeal is ready, move on to the wheat grits.
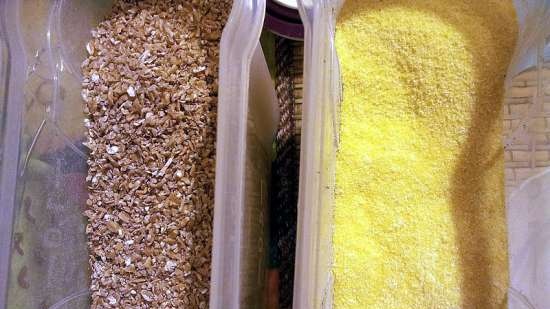
The same way - we fall asleep.
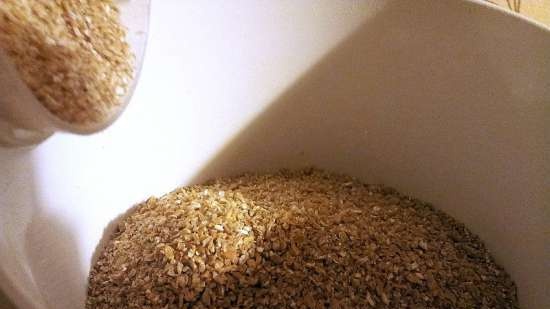
We admire the process.
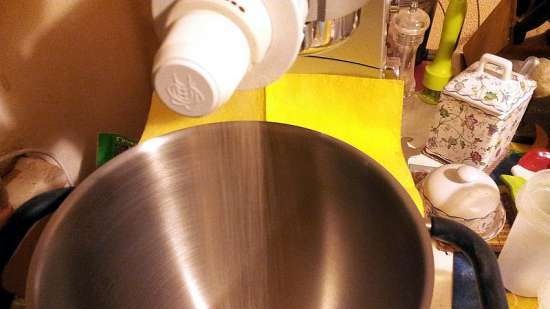
Let's compare. I have a store-bought whole grain wheat. Although this is not quite the case, why not compare. Purchased under the groats on the left.
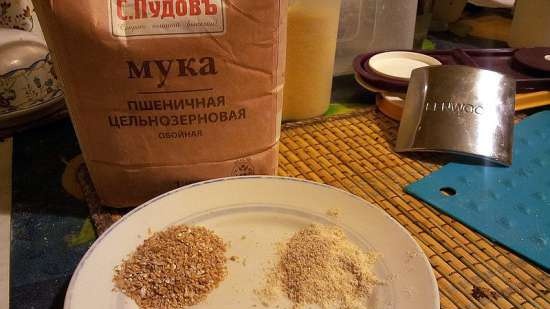
Let's take a closer look.
Purchased lighter and thinner.
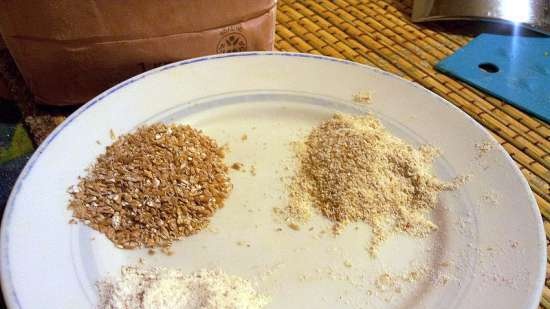
Therefore, I will also banish it for the second time.
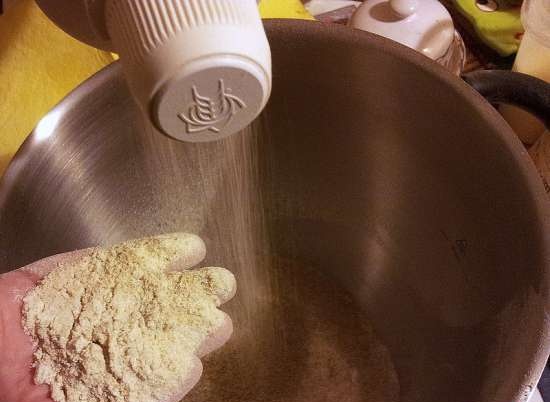
I forgot to say above.
When the croup, the funnel sucks it all in, no need to help. But when the second and subsequent times, the flour does not slip like cereal, you will need to help get into the funnel.
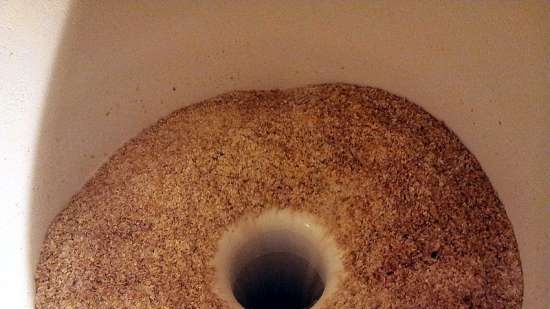
After the second run. Also almost ideal when compared with the purchased one. Those. already suits me.
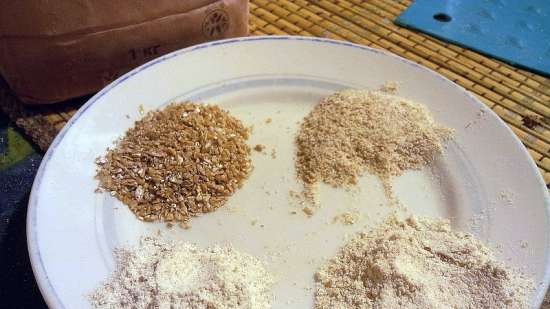
The same leftovers (and I also brushed examples off the plate)
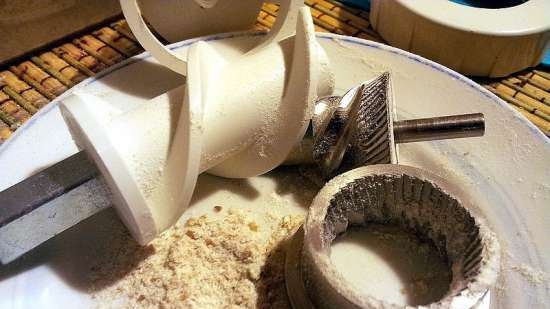
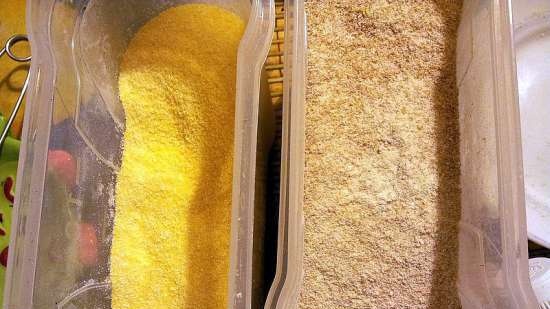
Here are two cereals and are ready. It took a little over 20 minutes, though with photography.
This is where the testing and the photo session ends, because my mother asked her to make a buckwheat slice for the future (done) for the messy porridge. She is not satisfied with the prod that is sold in stores, because it is only slightly crushed buckwheat, you cannot cook a smear from such cereal. I will not write about the benefits of such porridge here, a separate topic 
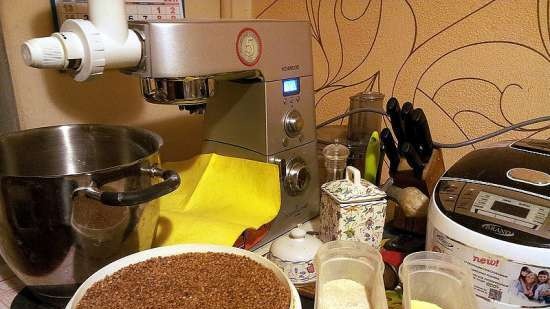
Looking ahead, that with a 3kg bowl. buckwheat on grinding 2 machine coped in 9 minutes.
However, I already wrote about grinding buckwheat in the topic about baits.
Read and see can be here.
I will only note one point.
Then, after all, the socket for the nozzles after the experiments looked like this.
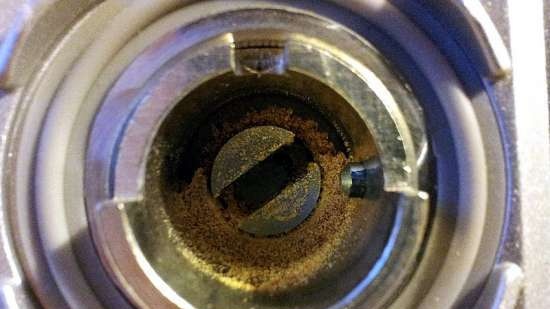
But since Then I ground buckwheat more than once, and this has never happened again!
Taking pictures of corn and wheat groats for the second time in several months of active use, I saw such a small one.
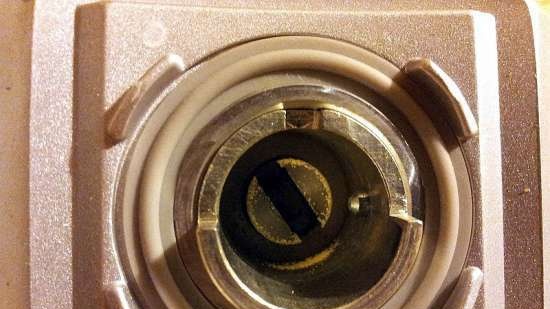
And it seems to me that such dust is possible if the degree of grinding is twisted back and forth, and / or at a minimum degree 2-3-4 times to obtain the state of dust. Then this dust can slightly tighten on the mount.
***
In general, I really liked the nozzle.
Fast, you can achieve the desired result. For my tasks and small volumes, a great thing.
For large volumes, it is possible that completely different designs are needed, for completely different money.
As for the flour itself, in this matter I am a neophyte, and I cannot say anything. But the forum has many great topics on this subject.
I advise you to start with these:
How to grind flour from various grains and cereals at home
We cook our own whole wheat flour and flour of the 1st and 2nd grade
Good luck! 
- |
 When people are into cooking, sooner or later they will want to make their own bread. When people start making bread, sooner or later they will want to make unusual bread. And when making unusual bread, sooner or later they will want to make their own flour. Because not all the shops have unusual flour, or because it is expensive, or simply because they experienced the joy of doing a lot on their own, and not buying ready-made. And then they are faced with the question of the mill.


